The OneLence Setup tab is where you activate the plugin and optionally connect OneLence Mark.
Why This Matters
This tab is useful in two different ways:
- If you only want a cookie banner and consent-aware script loading, this is where you activate the plugin.
- If you also want to use OneLence for the signal-to-decision workflow, this is where you connect OneLence Mark to your site.
In other words, the banner works without a OneLence account, but the Mark setup is for users who also want OneLence's product and growth workflow.
Enable Plugin
The Enable plugin toggle turns the plugin on for the frontend of your site.
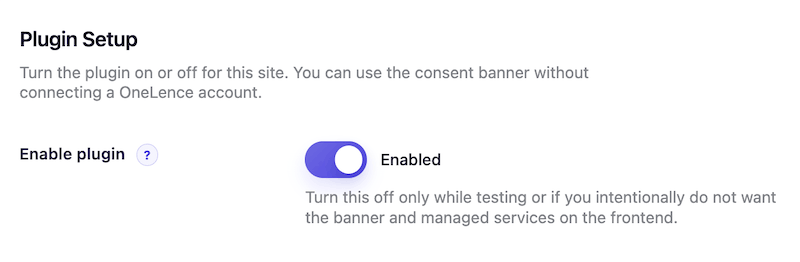
- When enabled, the consent banner and managed service loading can run on the website.
- When disabled, the plugin remains installed, but the banner will not appear and managed services will not run through the plugin.
This is the first setting most users should turn on after installation.
OneLence Mark: Site Key and Site ID
If you want OneLence Consent to load OneLence Mark, you need to enter:
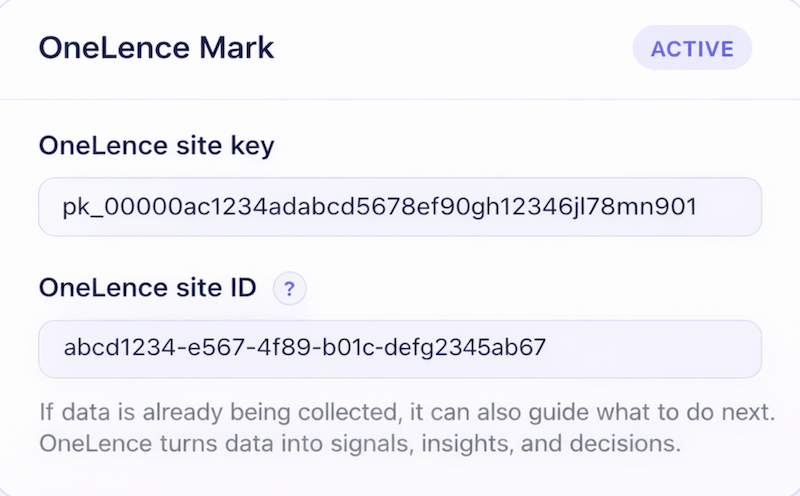
- your OneLence site key
- your OneLence site ID
These details come from the OneLence onboarding flow.
Once both values are saved, OneLence Consent can load Mark only after analytics consent has been granted.
Important notes:
- You do not need these values just to use the cookie banner.
- If OneLence Mark is also being loaded somewhere else, such as another plugin or a manual snippet, tracking may begin before consent is granted.
- For a clean setup, OneLence Consent should be the only WordPress-side loader for Mark.