Before you start
To activate tracking, you need a OneLence workspace.
If you connected Shopify directly from the OneLence onboarding flow, your API credentials and tracking setup were created automatically.
If you arrived here without an account:
- Create a OneLence account
- Create or select a workspace
Step 1. Install the OneLence Connect App
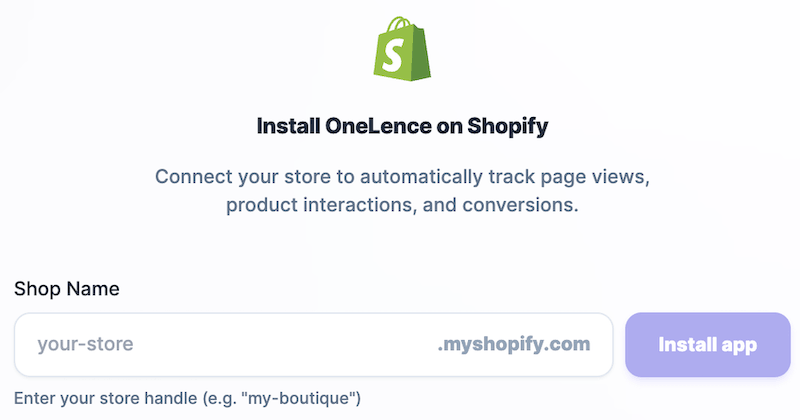
During the onboarding process, select Shopify as your integration method.
- Enter your store name (not the full .myshopify.com URL)
- Click Install App
Once the app is installed, your tracking credentials (API keys) will be generated automatically and linked to your store.
Note: If the connection cannot be established, please temporarily disable any ad blockers or browser privacy extensions, then reload the page and try again.
Step 2. Connect your Shopify Store to OneLence
You've already installed the OneLence Connect app. Now you need to activate the connection in your Shopify Themes setting.
Follow these steps:
- Open your Shopify Admin
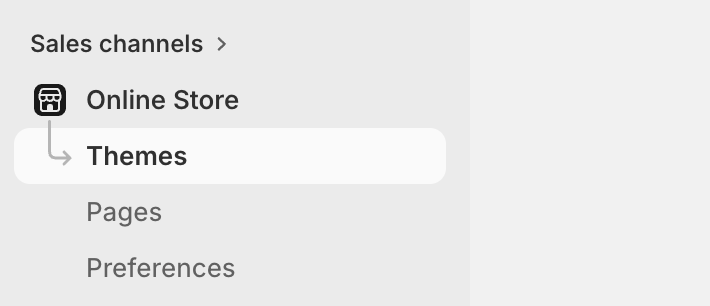
- Go to Online Store → Themes
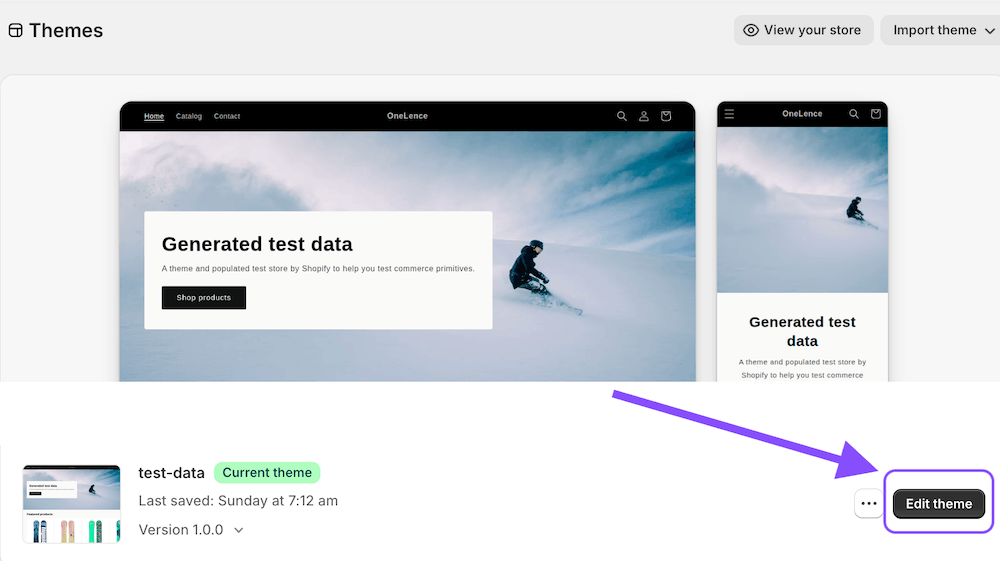
- Click Edit theme on your active theme
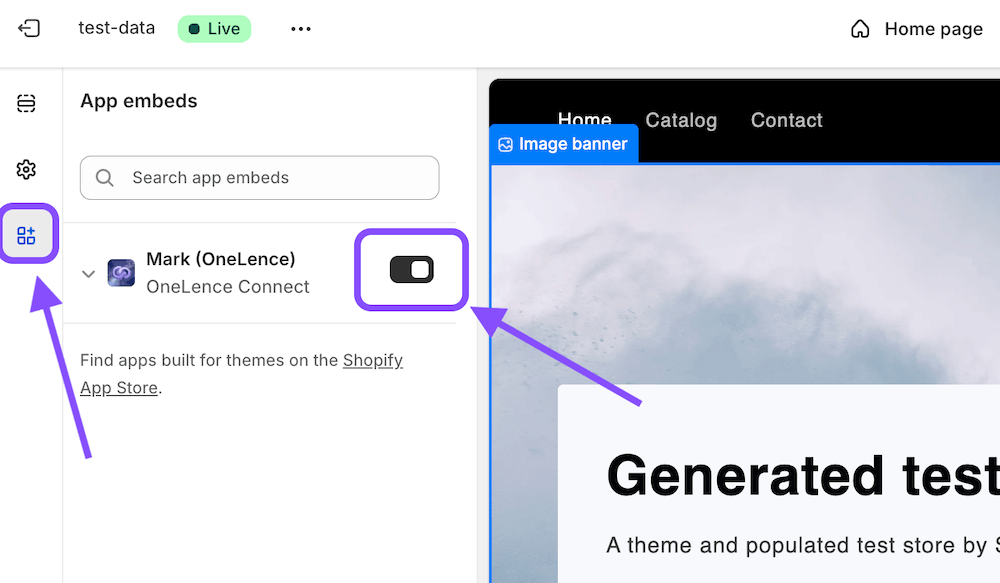
- Open App embeds in the sidebar
- Toggle on OneLence Connect
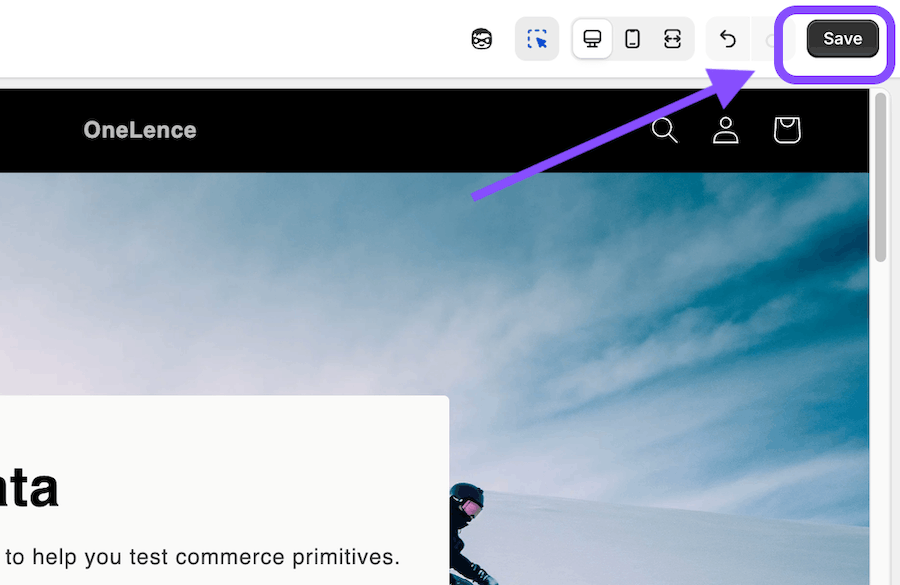
- Click Save
- Visit your storefront once to trigger the first tracking signal
- Go back to the onboarding page on OneLence
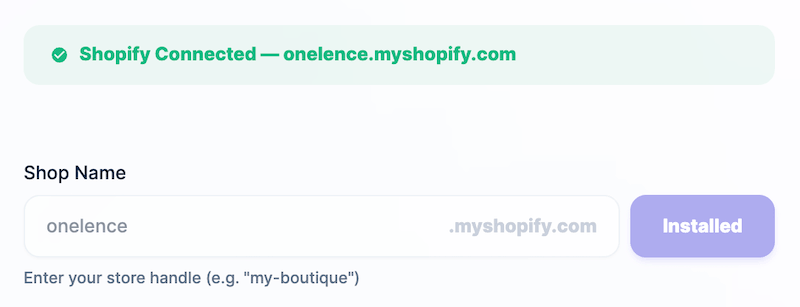 You should see a confirmation message that your store is successfully connected.
Tracking will start automatically after this step.
Step 3. Confirm Tracking is Working
After activation, OneLence begins collecting:
- Page visits
- Product views
- Cart activity
- Checkout signals
- Purchase conversions
You can verify activity in:
- Live Feed
- Dashboard analytics
No additional setup is required for standard tracking.
Step 4. Understanding Advanced Tracking Settings
Most merchants can leave advanced settings unchanged.
However, these options provide more control for teams that want deeper measurement precision.
You can visit the configuration setting page anytime in OneLence:
- Go to Settings → Integrations
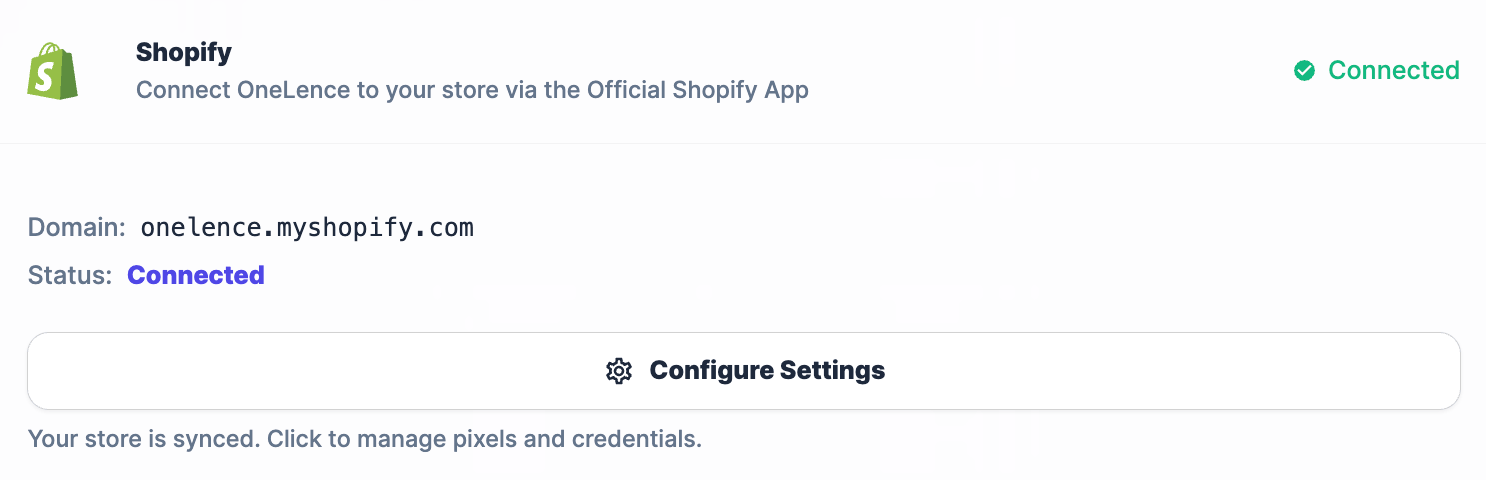
- Click Congfigure Settings
- Scroll down to the Advanced Tracking Settings card
You can change the following setups:
- Storefront Events (Browser)
- Server-Side Precision
- Debug Mode
- API Credentials
Storefront events (browser tracking)
These settings control what visitor actions are tracked before purchase.
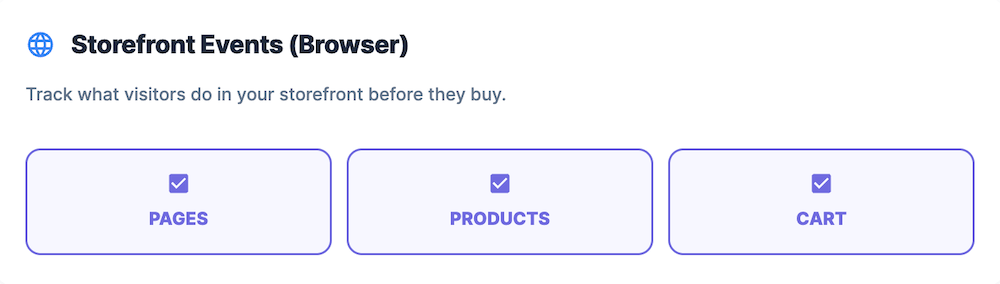
You can enable or disable tracking for:
- Pages
- Products
- Cart interactions
Recommendation: Keep all enabled to maintain full attribution visibility.
Server-side precision tracking
Server-side tracking improves reliability when browser tracking is limited (for example due to ad blockers or privacy settings).
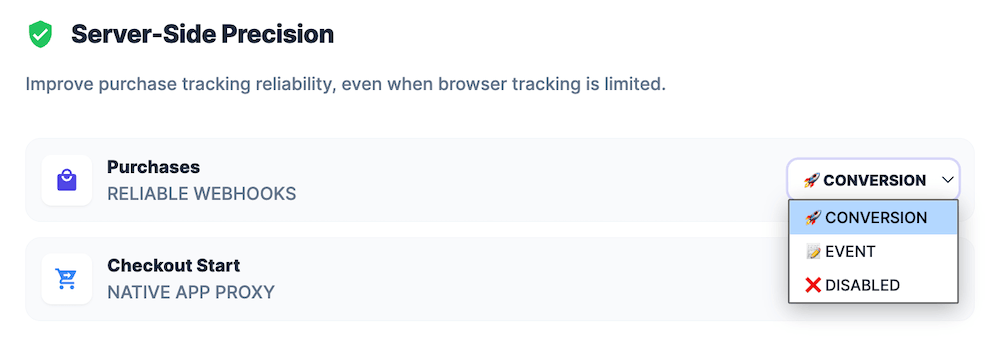
Available signals include:
- Purchase confirmations via reliable webhooks
- Checkout start events via native app proxy
Recommended configuration:
- Purchases →
Conversionmode - Checkout start →
Eventmode
This setup ensures:
- Accurate revenue attribution
- Reduced tracking loss
- Better campaign optimization data
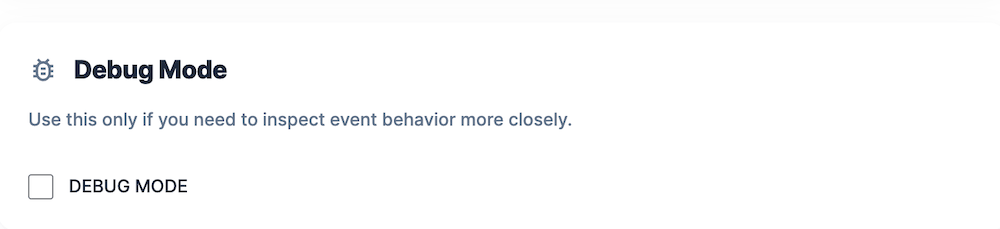
Debug mode
Debug mode is intended for technical troubleshooting.
 Enable this only if:
- You are testing a new theme
- You are validating event payloads
- Support asked you to activate it
For normal operation, keep this disabled.
API credentials (advanced users only)
Your publishable and secret keys are automatically assigned to your store.
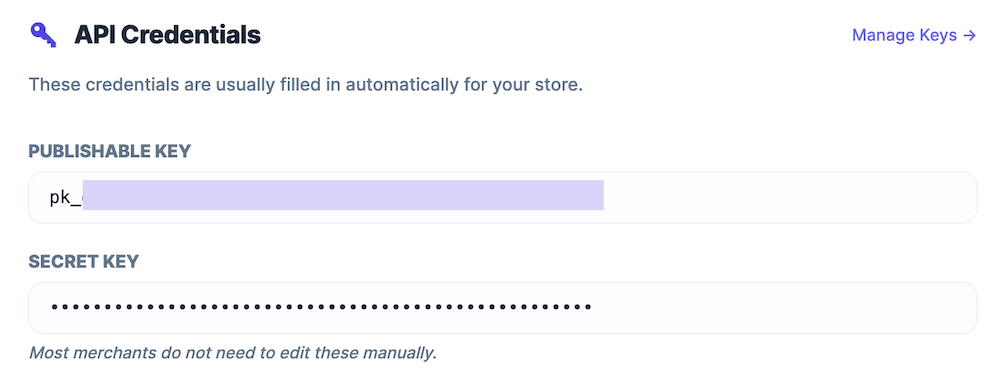
You only need to update them if:
- You switch workspace
- You duplicate environments
- You run custom headless storefront setups
If unsure, do not change these values.
After setup
Once tracking is active:
- Visitor journeys are automatically captured
- Conversions are attributed to channels
- Campaign performance insights begin populating
No further action is required.
You can now continue optimizing campaigns inside OneLence.