You can install OneLence Connect in two ways:
From Stripe Marketplace
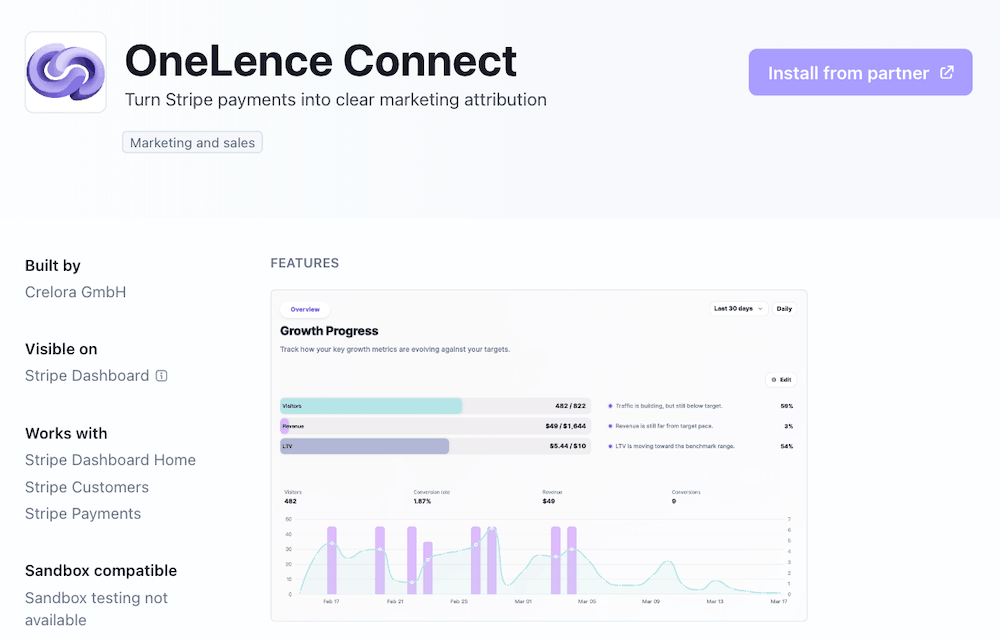
- Open the OneLence Connect app page in the Stripe marketplace
- Click Install from partner
- You will be redirected to OneLence signup page
- Create your account and continue onboarding
From OneLence onboarding
- During onboarding, select Stripe as your integration method
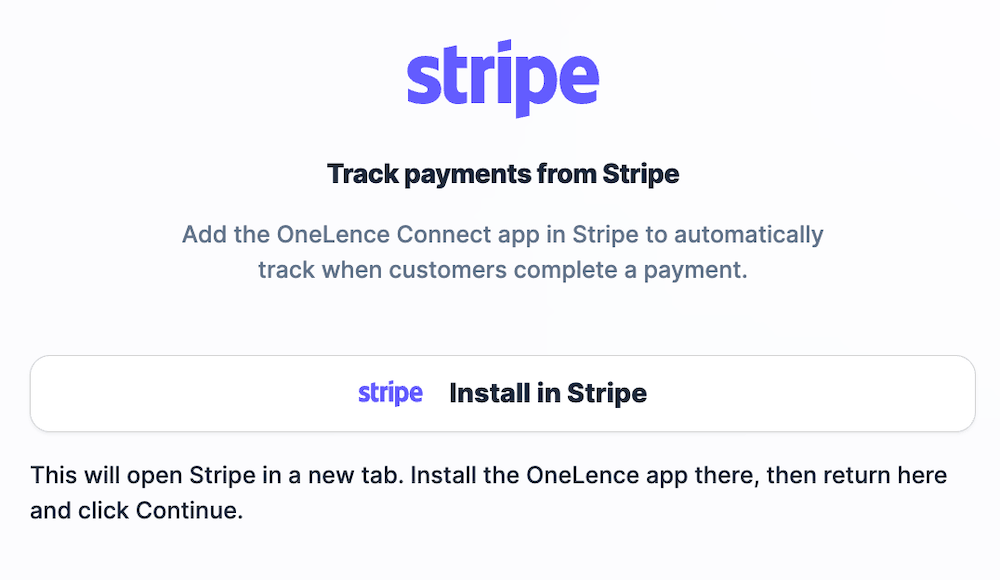
- Click Install in Stripe
- You will be redirected to Stripe Apps page
- Click Install to authorize the connection
Once installation is completed, your Stripe account will be securely linked to your OneLence workspace.
Note: If installation fails or the redirect does not complete, you can manually open the OneLence Connect app from your Stripe dashboard and continue setup.
Step 2. Confirm your Stripe Account is Connected
After successful installation, you will be redirected back to OneLence.
 On the Integrations page, you should see:
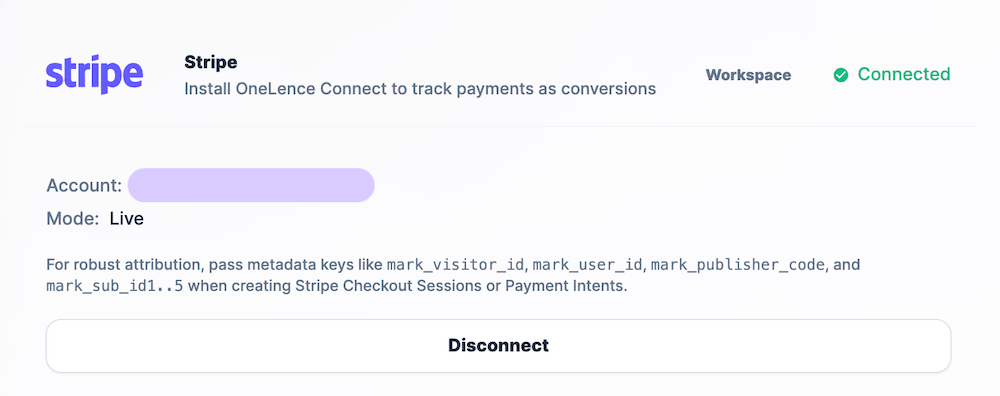
- Connection status: Connected
- Your Stripe account name
- Mode: Live (or Test if you installed in test environment)
Tracking credentials are created automatically.
No manual API configuration is required.
Step 3. Verify Payment Tracking is Working
To ensure your integration is functioning correctly, perform a simple test transaction.
- Open your Stripe Admin dashboard
- Create a new payment or test transaction
- Return to the OneLence dashboard
- Refresh the page after 1–2 minutes
You should see the payment event appear in:
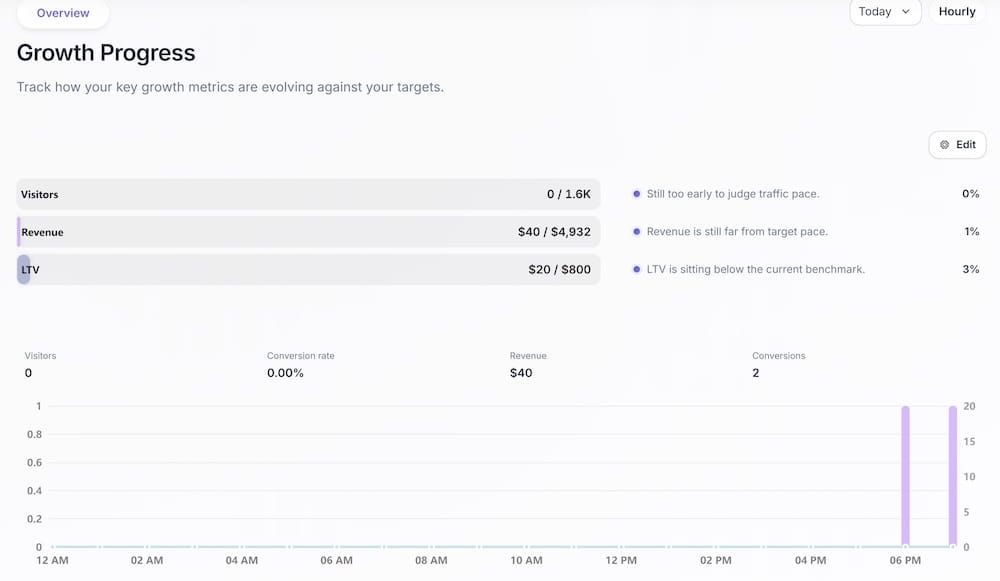
- Overview page
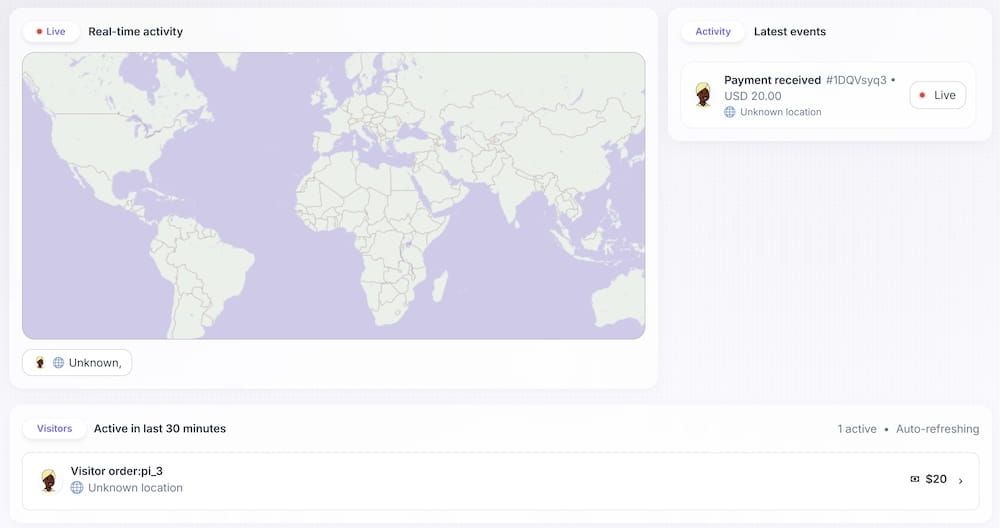
- Live page
This confirms that your Stripe events are successfully received and processed.
Tracking will continue automatically for all future payment activities.
Step 4. Extend Tracking Beyond Payments
The Stripe integration captures payment-related conversion signals.
To measure the full customer journey, you can additionally connect your website using the Mark SDK or other integrations.
You can find detailed setup instructions in:
This allows OneLence to link:
- Marketing source
- Visitor behavior
- Revenue outcomes
into a unified performance view.