The recommended way to connect a WordPress website to OneLence is the OneLence Connect plugin.
OneLence Connect is designed to make the setup easier from inside WordPress and to give you more control over what your site sends to OneLence.
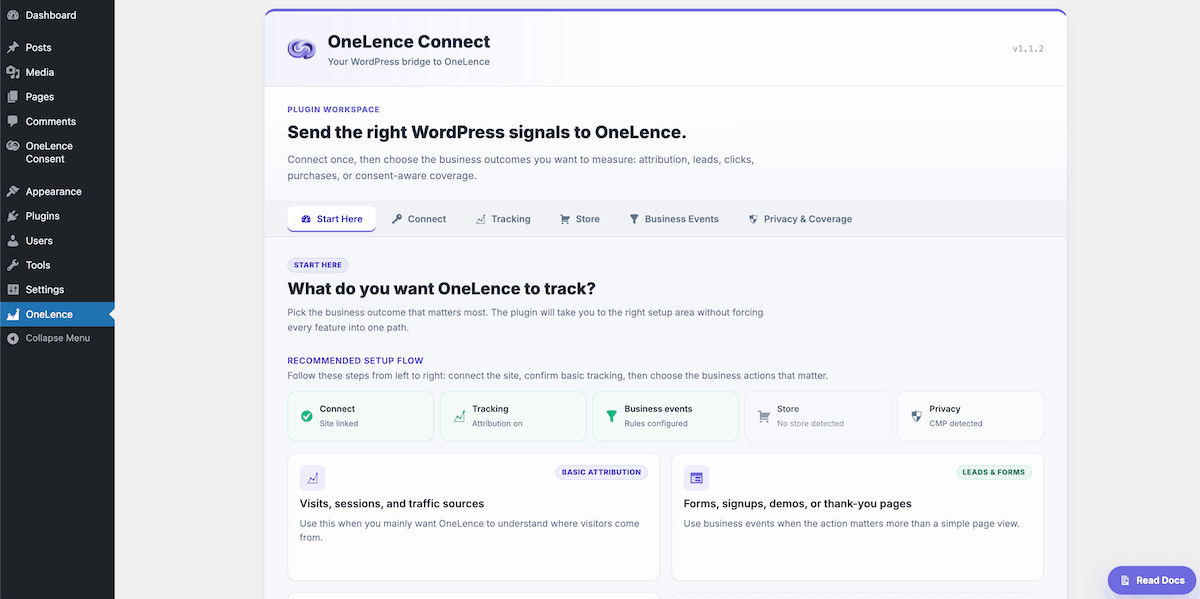
This guide explains the plugin structure and the order in which most WordPress users should move through it.
Install OneLence Connect
Install and activate OneLence Connect for WordPress from the official WordPress plugin directory:
OneLence Connect on WordPress.org (recommended)
In WordPress:
- Go to Plugins → Add New
- Search for OneLence Connect
- Click Install Now, then Activate
WordPress.org keeps the plugin updated through the normal WordPress update flow.
Fallback: manual ZIP download
Use the CDN ZIP only when you cannot install from WordPress.org—for example, restricted hosting, air-gapped environments, or when support asks you to use a specific build:
Upload that ZIP under Plugins → Add New → Upload Plugin, then activate the plugin.
Before You Start
You need:
- OneLence Connect for WordPress installed and activated in WordPress (see Install OneLence Connect above)
- access to an OneLence account
- permission to sign in to your OneLence workspace
- permission to manage plugins and settings in WordPress
If you do not have a OneLence account yet, create one first before continuing.
If you have not installed the plugin yet, install it from WordPress.org (or use the fallback ZIP if needed), then continue with the setup flow below.
Connect WordPress to OneLence
In WordPress:
- Open the OneLence Connect for WordPress plugin
- Go to the Connect tab
- Click Connect to OneLence
- Sign in to your OneLence account if you haven't
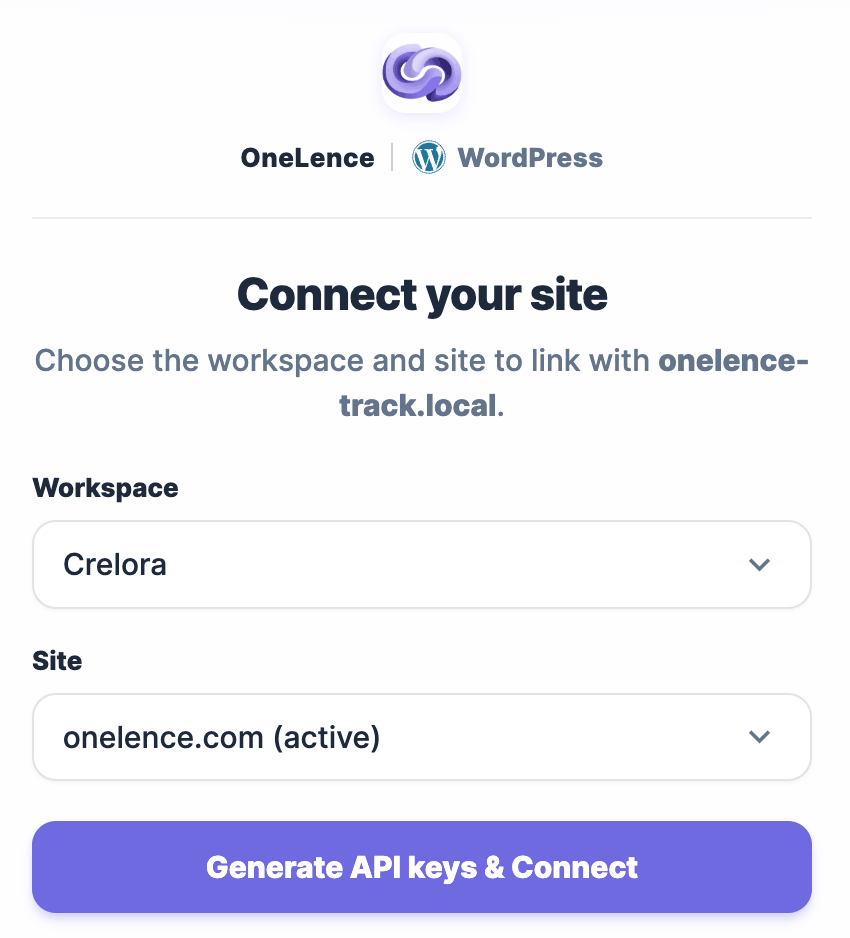
- Select or confirm the OneLence site you want to connect and click Generate API keys & Connect
- You might need to login to your Wordpress admin account again
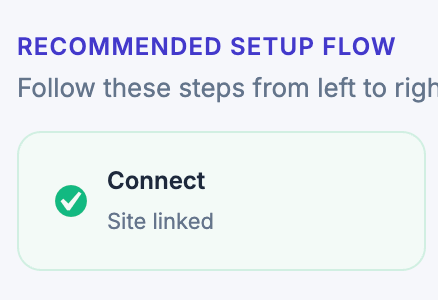
- Once you're connected, you will see the status card is updated to "Connected"
- If not, repeat step 3 to 6 for one more time
After the connection is successful, OneLence Connect can send website activity and configured event signals to your OneLence workspace.
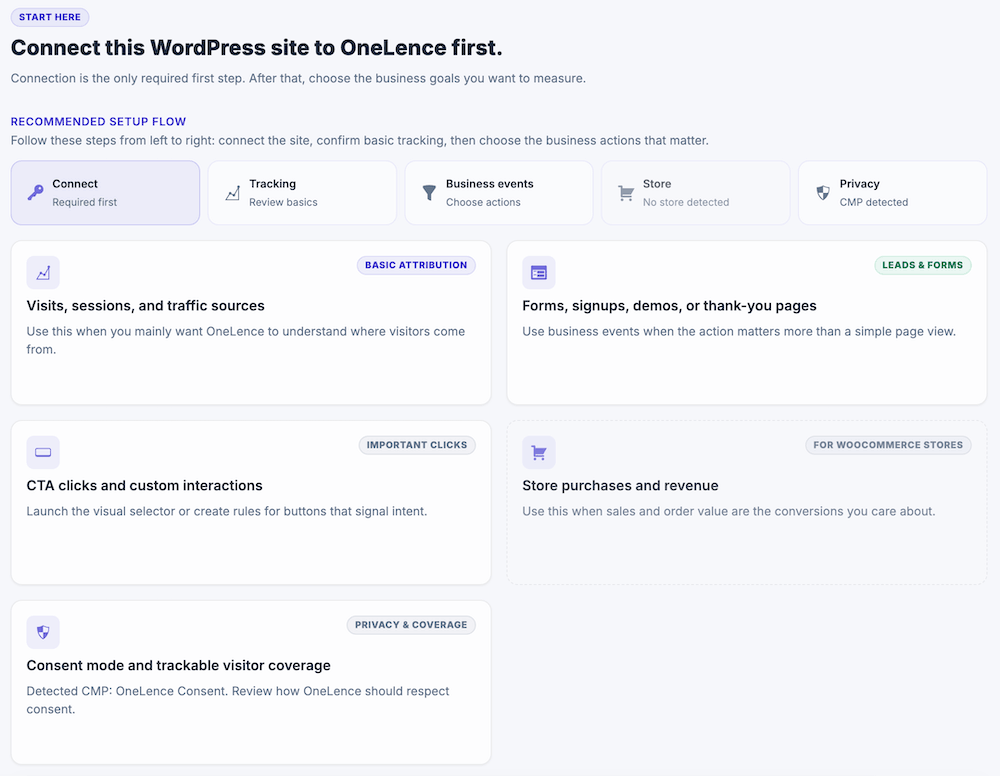
The connection is required before the rest of the plugin setup can work correctly.
For detailed instructions about the Connect tab itself, refer to Configure Connect in OneLence Connect.
Recommended Setup Order
After connecting WordPress to OneLence, continue with the plugin in this order:

Use the plugin in this order:
- Start Here - review what is already complete and what still needs attention
- Connect - confirm that the site is linked to the correct OneLence workspace
- Tracking - confirm that OneLence can receive basic website activity
- Store - optional, only for sites that use WooCommerce
- Business Events - define the actions you want OneLence to understand
- Privacy & Coverage - optional settings for consent-aware behavior and setup completeness
What Each Tab Is For
Start Here
The Start Here tab gives you a setup overview inside the plugin.
Use it to check which setup areas are complete and open the next relevant step.
For more details, refer to Configure via OneLence Connect.
Connect
The Connect tab links WordPress to your OneLence account.
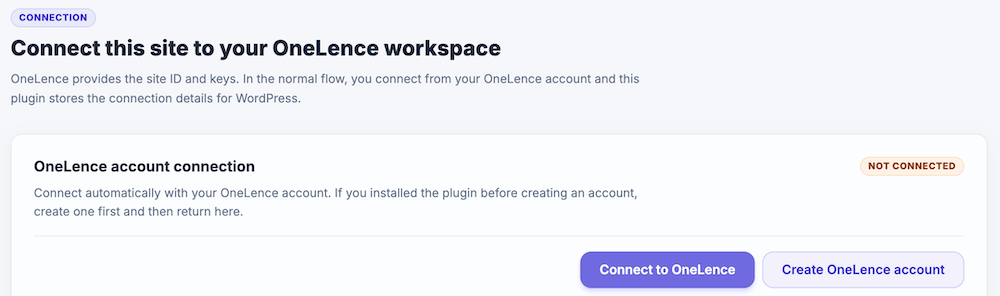
Once this connection is in place, the plugin can use your OneLence site settings instead of requiring manual tracking code placement.
For more details, refer to Configure Connect in OneLence Connect.
Tracking
The Tracking tab controls the basic tracking connection between your WordPress site and OneLence.
![]()
This is the foundation for receiving website activity in OneLence.
For more details, refer to Configure Tracking in OneLence Connect.
Store
The Store tab is only relevant if your site uses WooCommerce.
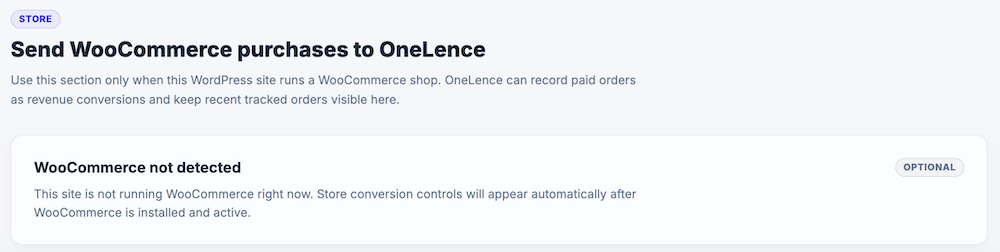
If WooCommerce is not part of your setup, you can skip this section.
For more details, refer to Configure Store in OneLence Connect.
Business Events
The Business Events tab is where you define the important actions and outcomes you want OneLence to understand.
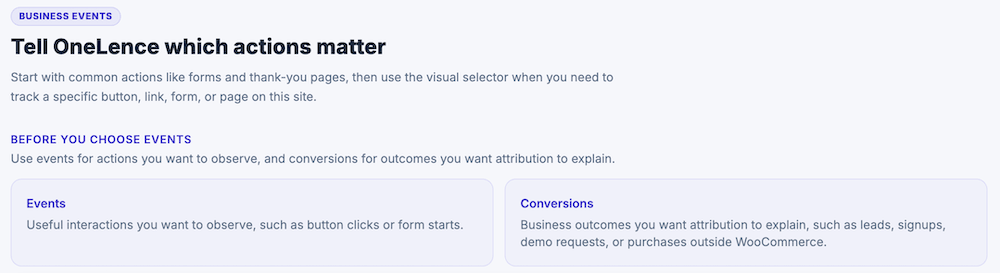
This can include signups, form submissions, demo requests, confirmation pages, and other key steps in your funnel.
For more details, refer to Configure Business Events in OneLence Connect.
Privacy & Coverage
The Privacy & Coverage tab contains optional settings related to consent-aware behavior and setup refinement.
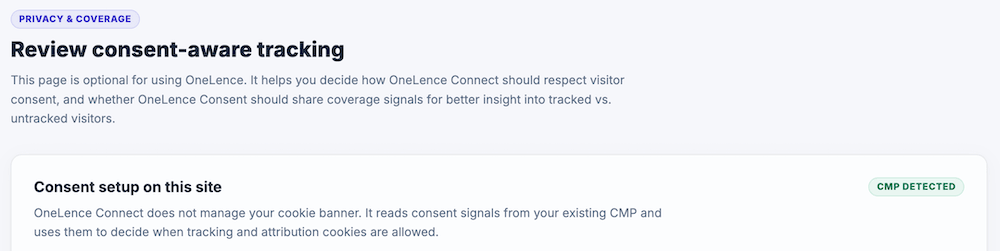
It is helpful, but not required to complete the initial WordPress-to-OneLence connection.
For more details, refer to Configure Privacy & Coverage in OneLence Connect.
When To Use Manual Snippets
Manual snippets are no longer the recommended first path for WordPress users.
Use a manual snippet only if:
- you cannot use the OneLence Connect plugin
- a developer needs a custom setup outside the plugin
- support specifically asks you to use the script snippet route
For the older manual WordPress approach, see: